Table of Contents
ThinkGeo UI Desktop for WPF Quickstart Guide
Note: If you are using Map Suite 10.0 or previous versions of the Map Suite product, please go to MapSuite 10.0 Wiki. The current page is for ThinkGeo 12.0 and future versions. It has different assemblies, licensing strategy, methods of distribution and more. It is true however that the majority of previously built code should work without modification assuming the new namespaces are added. For guidance on upgrading your existing code to ThinkGeo 12, please check out ThinkGeo 12 Upgrade Guide.
Welcome to ThinkGeo UI 12.
ThinkGeo UI encompasses the Map Suite family of .NET map controls and components, delivering interactive maps, GIS and spatial analysis to your projects on Windows, Linux, Mac OS, and beyond. ThinkGeo UI controls are available in both .NET Core 3.0 and .NET Framework 4 flavors for maximum versatility.
The purpose of this guide is to help you quickly get started building your own spatially aware applications. Like any new software, there is some learning to be done. How do we start to learn how to take advantage of the power of ThinkGeo UI 12? The best way is to make a sample application with it.
Download the Sample
Downloading ThinkGeo Product Center and Starting an Evaluation
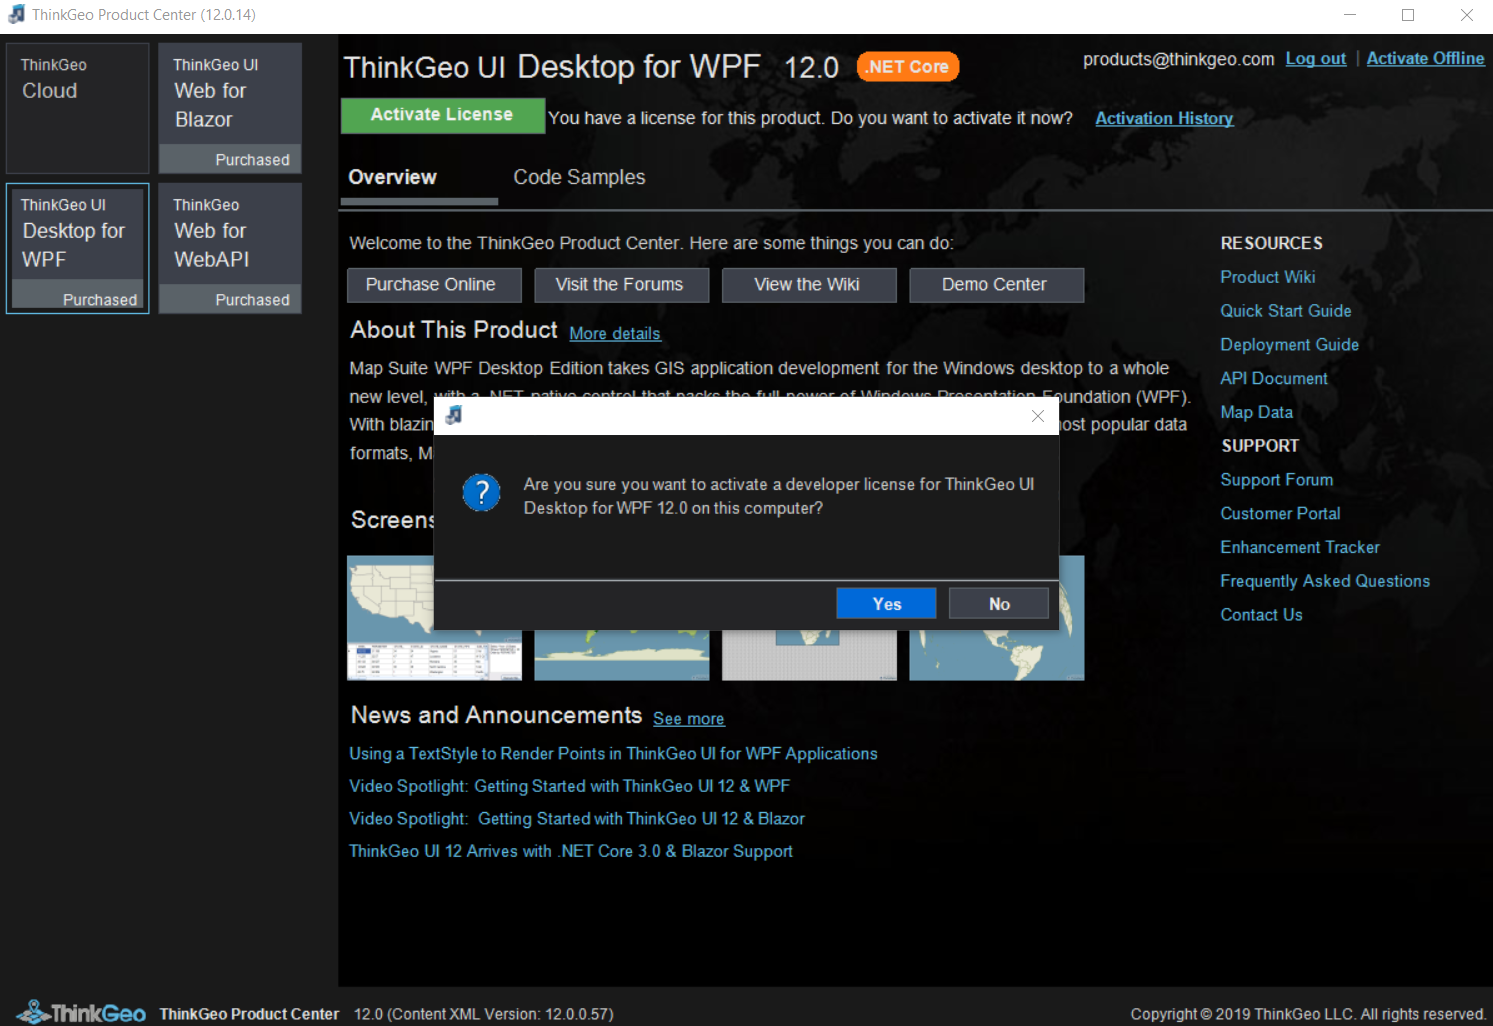
With ThinkGeo UI 12 there are two options for getting started quickly with your evaluation. Both ways require the download of our latest version of ThinkGeo Product Center which can be accessed by visiting our website. Once the download is complete registered users will be able to highlight the WPF tile and click “Start Evaluation”.
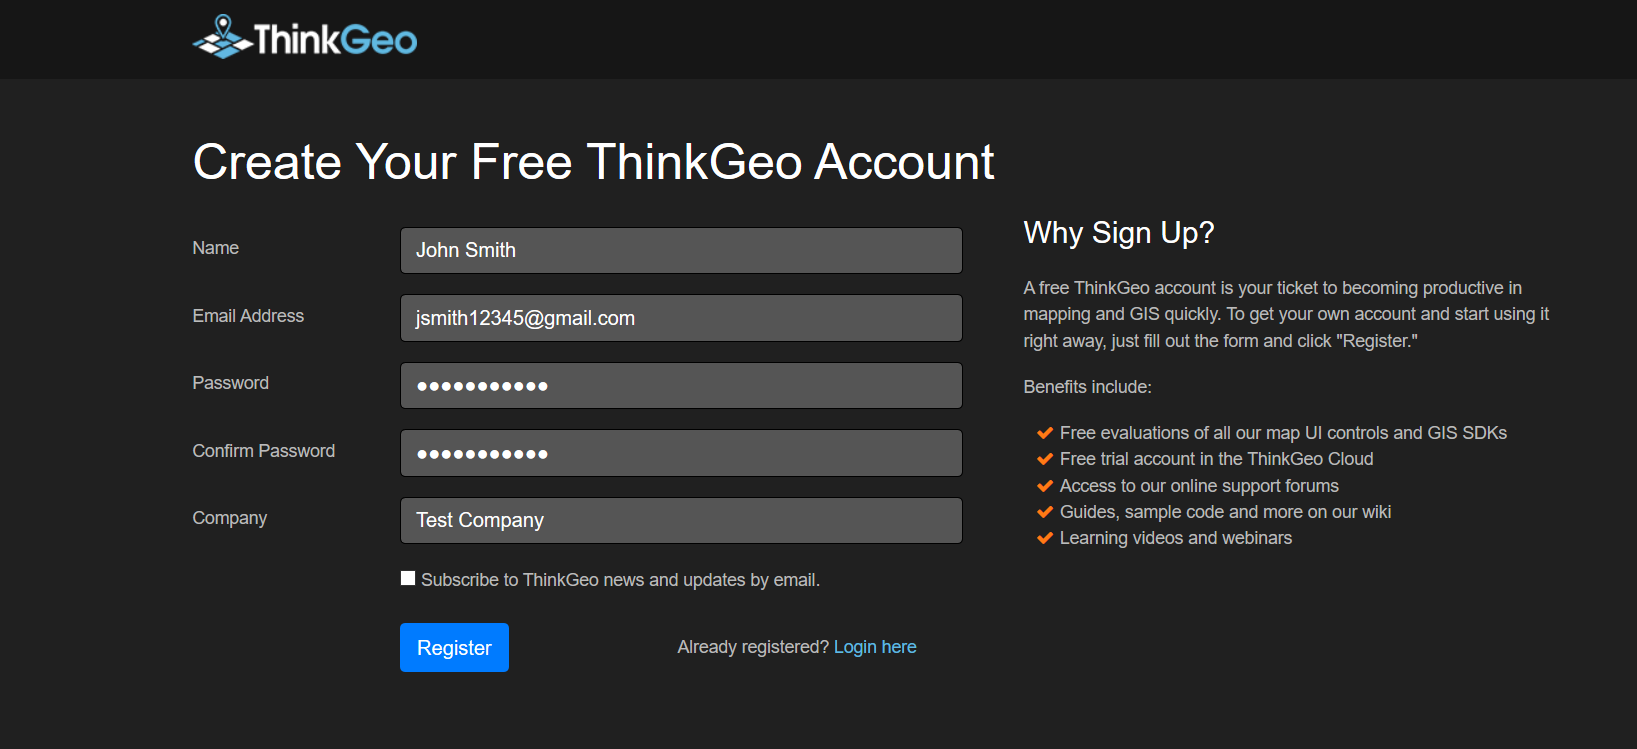
ThinkGeo Product Center also allows non-registered users the ability to sign up directly through the console. So if you don't yet have an account make sure you register through Product Center to get your evaluation going.
Setting up the Environment
Let's start with a new WPF project in Microsoft Visual Studio (2019 or newer) and call it QuickstartSample (see Figure 1). We can create the project with .NET Core 3.0.

Figure 1. Creating a new project in the Visual Studio IDE.
The project Quickstart sample is created in a new solution called Quickstart. The wizard creates a single WPF Application. Next we need to install ThinkGeo.UI.Wpf from the Nuget package server (see Figure 2-5).

Figure 2. Refer to Manage NuGet Packages.

Figure 3. Refer to ThinkGeo.UI.Wpf.
Now the package is installing into the project.
The “NetTopologySuite” is the third part assembly, so the license acceptance is required. You can click “I Accept” to agree the license.(See Figure 4)
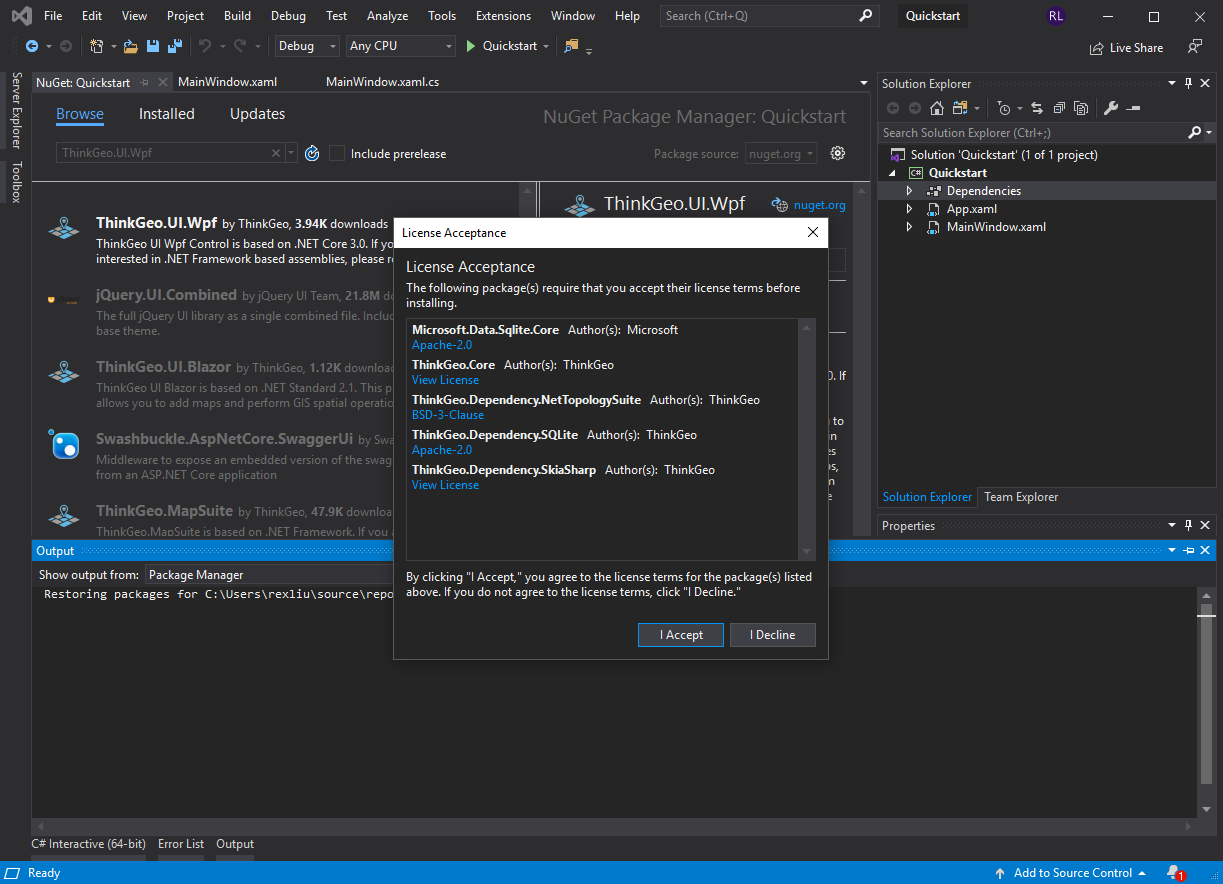
Figure 4. NuGet installation success.
Adding the Map Control
You can open your .xaml file and add reference code to refer WPF map to your application (See Figure 5)
<Window x:Class="Quickstart.MainWindow"
        xmlns="http://schemas.microsoft.com/winfx/2006/xaml/presentation"
        xmlns:x="http://schemas.microsoft.com/winfx/2006/xaml"
        xmlns:d="http://schemas.microsoft.com/expression/blend/2008"
        xmlns:mc="http://schemas.openxmlformats.org/markup-compatibility/2006"
        xmlns:uc1="clr-namespace:ThinkGeo.UI.Wpf;assembly=ThinkGeo.UI.Wpf"
        xmlns:local="clr-namespace:Quickstart"
        mc:Ignorable="d"
        Title="MainWindow" Height="600" Width="800">
    <Grid>
        <uc1:MapView x:Name="mapView"></uc1:MapView>
    </Grid>
</Window>
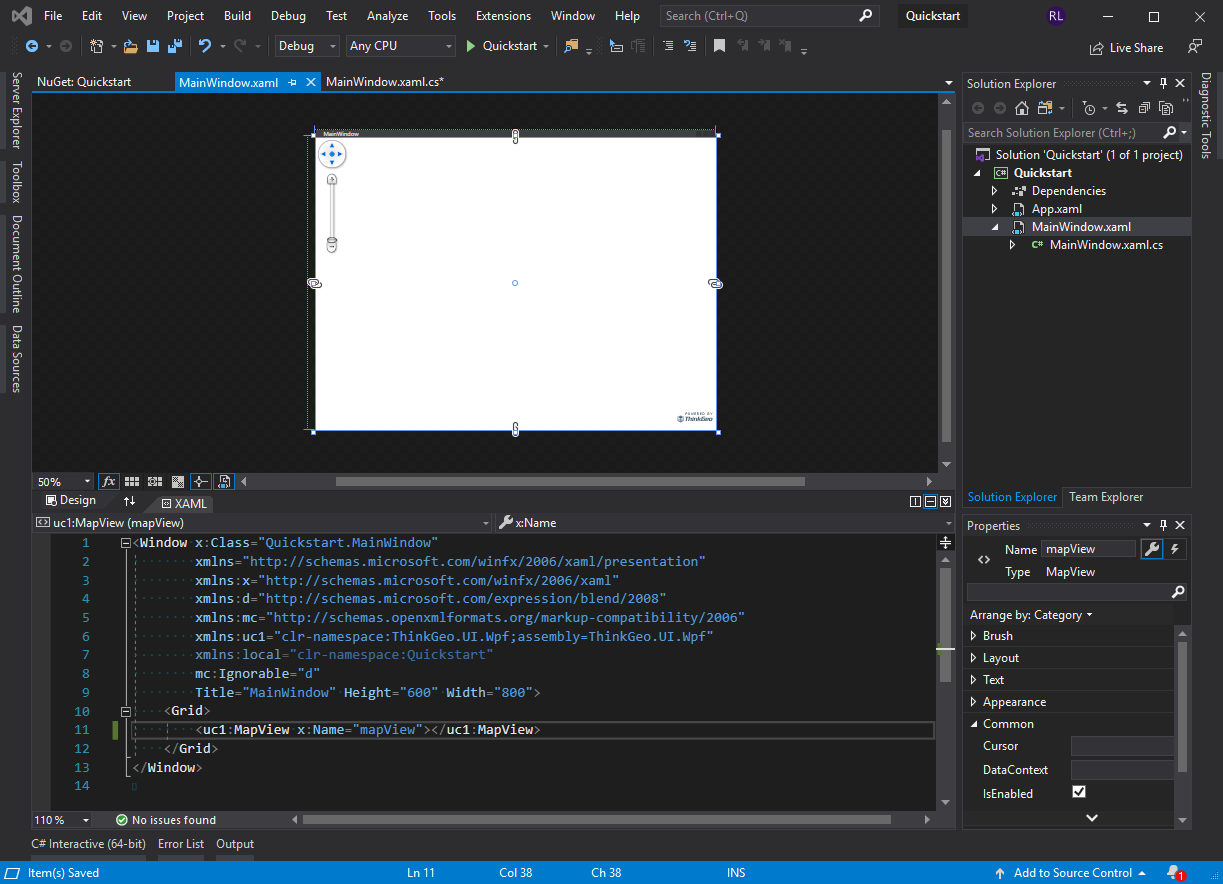
Figure 5. Add Map Control to your application.
If you have not set up a developer license, the ThinkGeo UI Product Center will pop up when you debug the app. You need to generate your developer license. For more details, please refer to http://wiki.thinkgeo.com/wiki/map_suite_developer_license_guide.
Once the developer license is ready, run the application. Your map should look like the one below: (see Figure 6).
 Figure 6. The normal map is rendered after the developer license file has been got.
ThinkGeo UI Desktop for WPF "Quickstart"
In creating our “Quickstart“ application, our first step is to set references to the ThinkGeo.Core and ThinkGeo.UI.Wpf workspaces at the very top of our code, as we will use many classes within them. We do this so that we do not have to use the fully qualified name of the classes throughout our code. Setting a reference to the ThinkGeo workspace can be done in the “code-behind” of the form by selecting the form and hitting the F6 function key. Set the reference like this:
using ThinkGeo.Core;
using ThinkGeo.UI.Wpf;
Now let's look at a code sample to bring this concept to fruition. We'll look at how to show a base map. Add “Loaded” handle for Map View:
<uc1:MapView x:Name="mapView" Loaded="MapViewLoaded"></uc1:MapView>
Our next step is to define and add our base map overlay. All of the following code can be placed in the MapViewLoaded event of the form. Here is the code to use for our example(see Figure 7).
using System.Windows;
using ThinkGeo.Core;
using ThinkGeo.UI.Wpf;

namespace Quickstart
{
    public partial class MainWindow : Window
    {
        public MainWindow()
        {
            InitializeComponent();
        }

        private void MapViewLoaded(object sender, RoutedEventArgs e)
        {
            // Set the Map Unit.
            mapView.MapUnit = GeographyUnit.Meter;

            // Add a background layer
            var backgroundOverlay = new LayerOverlay();
            backgroundOverlay.Layers.Add(new BackgroundLayer(new GeoSolidBrush(GeoColor.FromHtml("#F0EEE8"))));

            // Add a base map overlay.
            var cloudRasterBaseMapOverlay = new ThinkGeoCloudRasterMapsOverlay("USlbIyO5uIMja2y0qoM21RRM6NBXUad4hjK3NBD6pD0~", "f6OJsvCDDzmccnevX55nL7nXpPDXXKANe5cN6czVjCH0s8jhpCH-2A~~", ThinkGeoCloudRasterMapsMapType.Light);
            mapView.Overlays.Add(cloudRasterBaseMapOverlay);

            mapView.CurrentExtent = new RectangleShape(-20000000, 20000000, 20000000, -20000000);
        }
    }
}
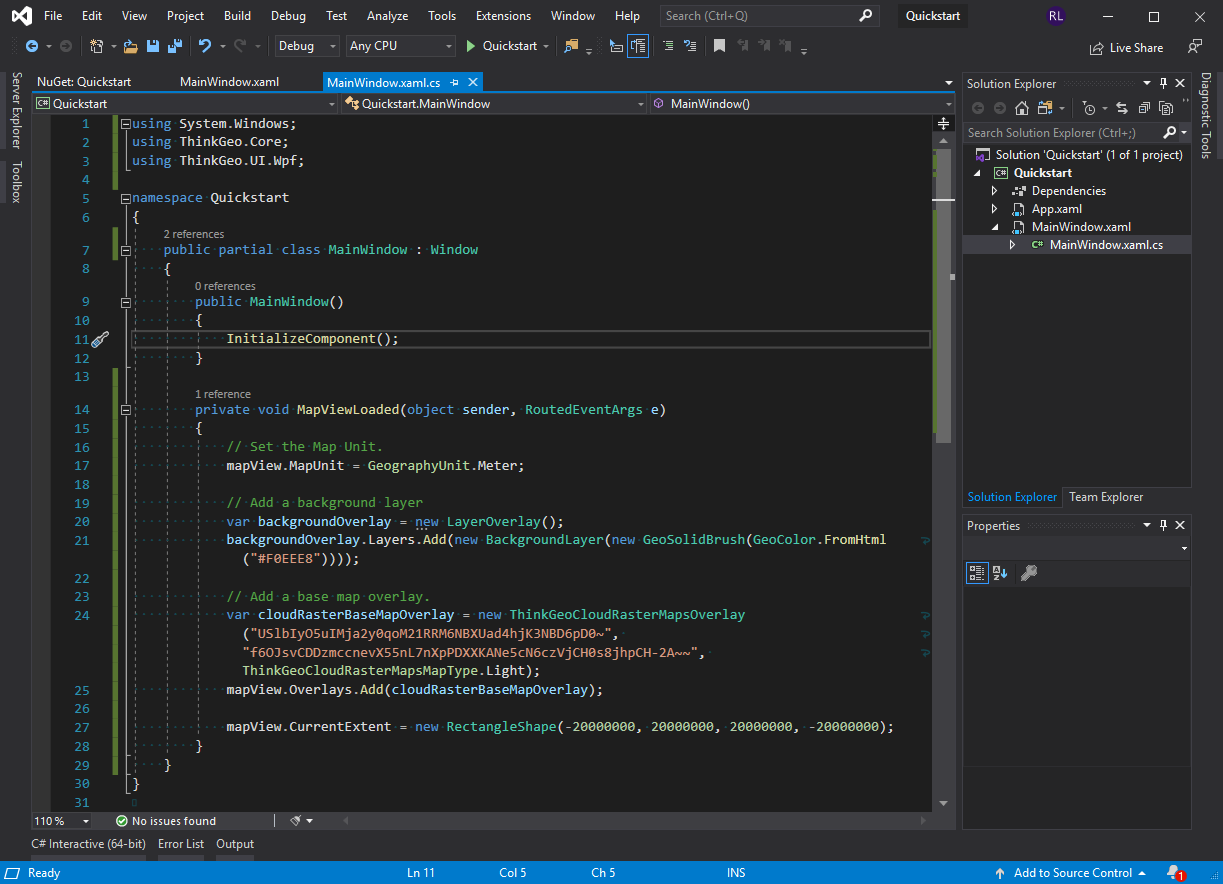 Figure 7. Add base map overlay to map view.
You can get a normal map render (See Figure 8)
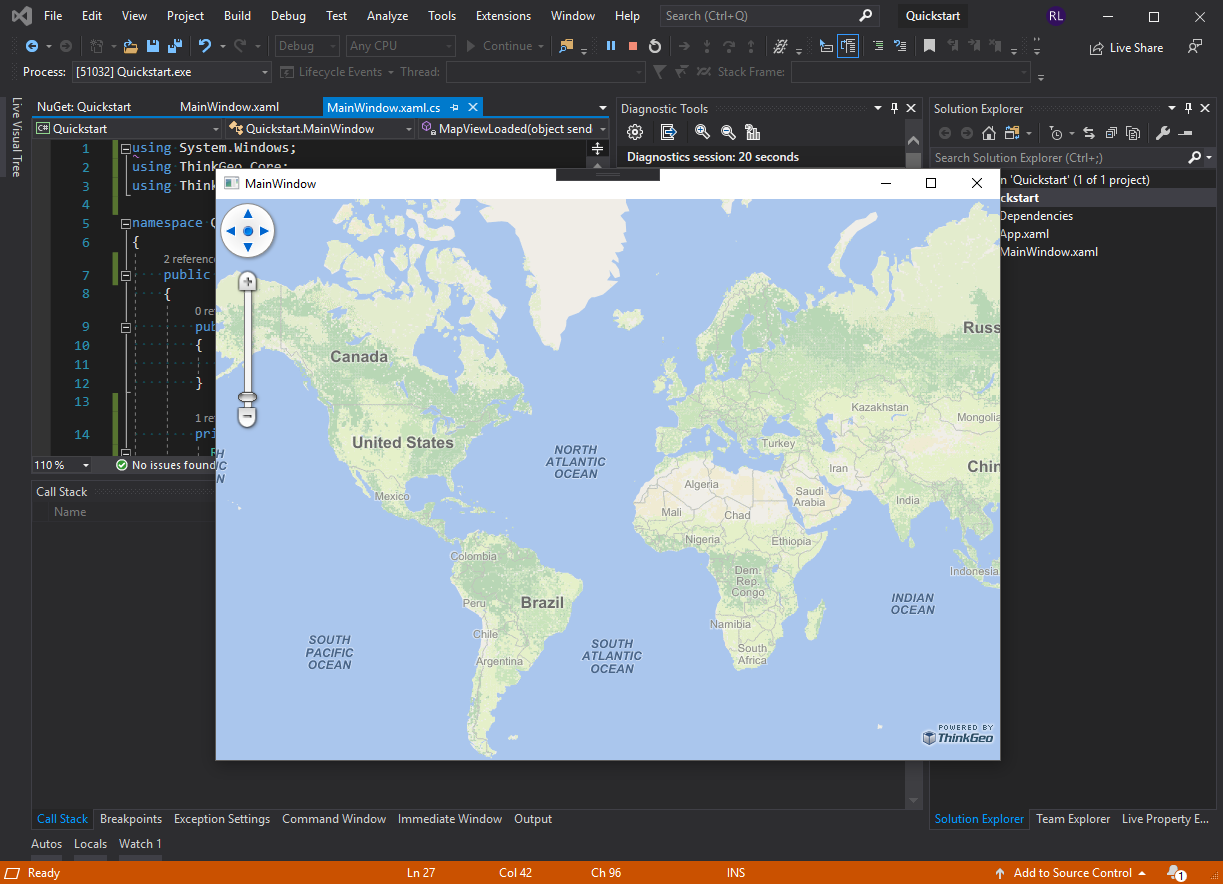
Figure 8 Quickstart Run Result.
NOTE: It is important that the “MapUnit” property of a Map object be set using the “GeographyUnit” enumeration, which can be in DecimalDegree, feet, meters, etc., and our map has no idea about what the unit of measurement is until we set it. This information is normally found somewhere in the documentation or within the supplemental data file as discussed in the section on ShapeFiles.
Navigate the Map
With the above code, you can both display a map and navigate it. You can pan by dragging the map, zoom in by double-clicking, track zoom in by drawing a rectangle with your left mouse button mouse while holding the shift key, or zoom in and out by using the mouse wheel. Very powerful for just couple lines of code, isn't it?
That was an easy start! Now, let's add a Shapefile to the sample. The capitals of the world countries (“WorldCapitals.shp”).
Our next step is to define and add Shapefile layer. All of the following code can be placed in the MapViewLoaded event of the form. Here is the code to use for our example(see Figure 9).
private void MapViewLoaded(object sender, RoutedEventArgs e)
{
    // Set the Map Unit.
    mapView.MapUnit = GeographyUnit.Meter;

    // Add a background layer
    var backgroundOverlay = new LayerOverlay();
    backgroundOverlay.Layers.Add(new BackgroundLayer(new GeoSolidBrush(GeoColor.FromHtml("#F0EEE8"))));

    // Add a base map overlay.
    var cloudRasterBaseMapOverlay = new ThinkGeoCloudRasterMapsOverlay("USlbIyO5uIMja2y0qoM21RRM6NBXUad4hjK3NBD6pD0~", "f6OJsvCDDzmccnevX55nL7nXpPDXXKANe5cN6czVjCH0s8jhpCH-2A~~", ThinkGeoCloudRasterMapsMapType.Light);
    mapView.Overlays.Add(cloudRasterBaseMapOverlay);

    // Add a shapefile layer with point style.
    var customDataOverlay = new LayerOverlay();
    var capitalLayer = new ShapeFileFeatureLayer(@"AppData/WorldCapitals.shp");
    capitalLayer.FeatureSource.ProjectionConverter = new ProjectionConverter(4326, 3857);

    var capitalStyle = new PointStyle()
    {
        SymbolType = PointSymbolType.Circle,
        SymbolSize = 8,
        FillBrush = new GeoSolidBrush(GeoColors.White),
        OutlinePen = new GeoPen(GeoColors.Black, 2)
    };
    capitalLayer.ZoomLevelSet.ZoomLevel01.DefaultPointStyle = capitalStyle;
    capitalLayer.ZoomLevelSet.ZoomLevel01.ApplyUntilZoomLevel = ApplyUntilZoomLevel.Level20;
    customDataOverlay.Layers.Add(capitalLayer);
    mapView.Overlays.Add(customDataOverlay);

    capitalLayer.Open();
    // Set the extent of capitalLayer for the Map.
    mapView.CurrentExtent = capitalLayer.GetBoundingBox();
}
 Figure 9. Define and add Shapefile layer.
And the result is as follows (Figure 10):
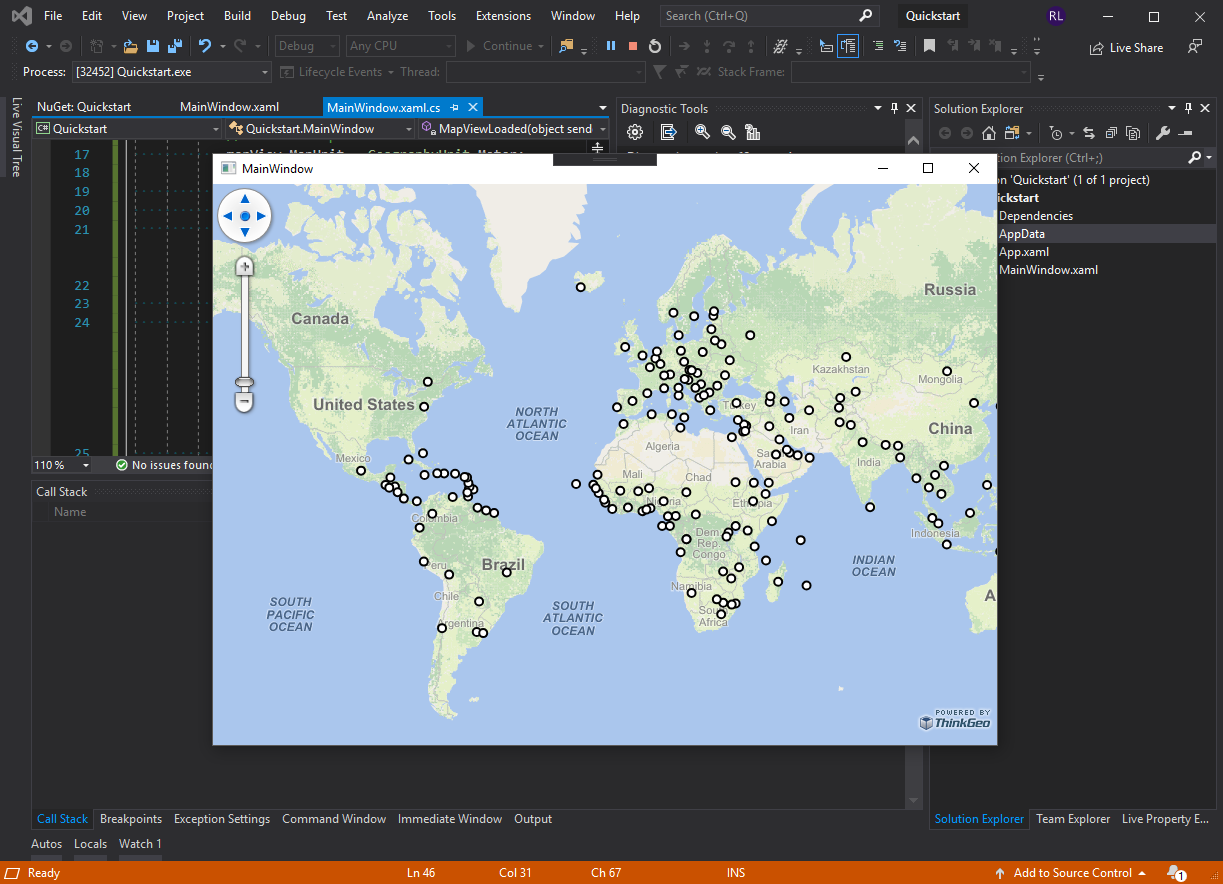
Figure 10. Shapefile layer rendering result.
So what has occurred here? We have created a layer and added it to the Map and the Map has rendered according to its default style parameters. Also, we have used ZoomLevel to display the map the way that we want.
This completes this scenario. The next thing you might want to do is to make it run on another machine that does not have a developer license. A runtime license is the one we are looking for. Here is a guide to generate a runtime license to satisfy it, please refer to (http://wiki.thinkgeo.com/wiki/map_suite_runtime_license_guide_for_desktop ) for details.
Summary
You now know the basics of using the ThinkGeo Map controls and are able to get started adding functionality into your own applications. Let's recap what we have learned about the object relationships and how the pieces of ThinkGeo UI work together:
- It is of the utmost importance that the units (feet, meters, decimal degrees, etc.) be set properly for the Map control based on the data.
- Shapefiles provide the data used by a Map control to render a map.
- A Map is the basic control that contains all of the other objects that are used to tell how the map is to be rendered.
- A Map has many layers. A Layer correlates one-to-one with a shape file (.shp).
- A Layer can have several ZoomLevels. ZoomLevels help to define ranges (upper and lower) of when a Layer should be shown or hidden.
